...
Download BeProduct Sync here.
Once the installer file has downloaded, double click on the BeProductSyncInstaller.dmg file in your downloads folder.
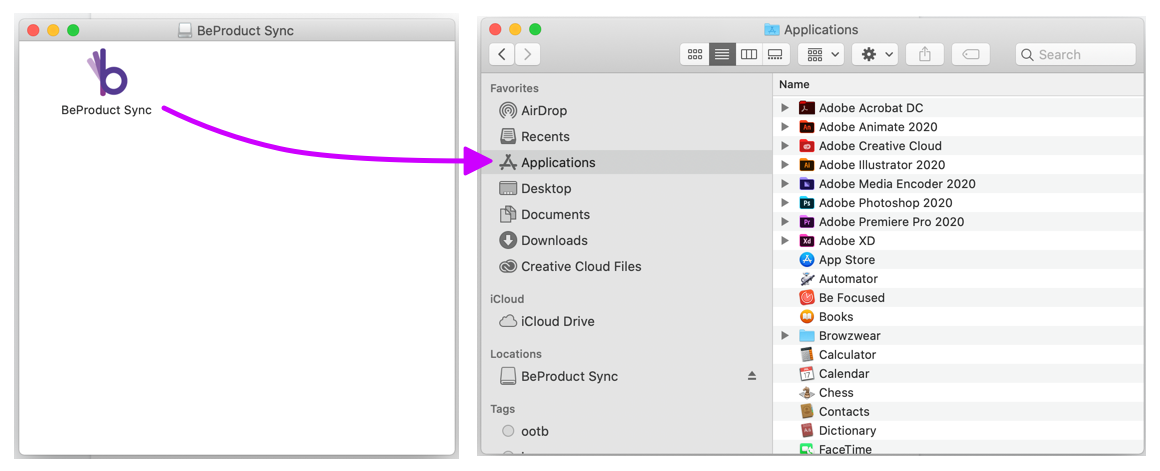
A new Finder window will open with the BeProduct Sync App. Drag and drop the App into your Applications Folder on your Mac. (Note that if you have previously installed BeProduct Sync, you’ll receive a popup--choose the Replace option.)
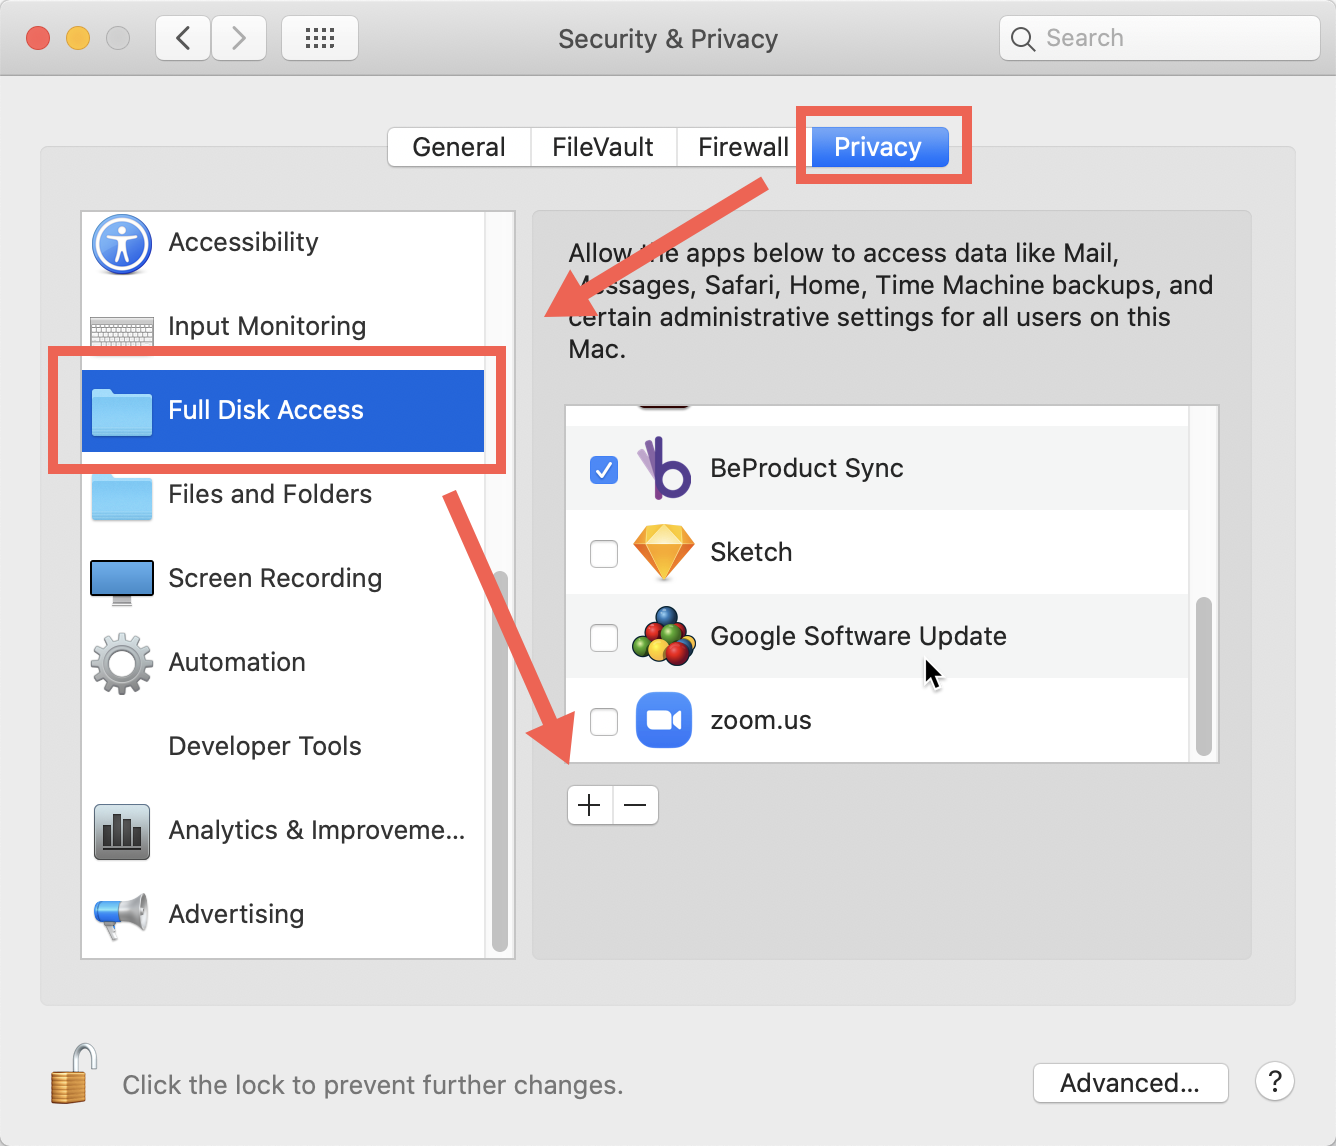
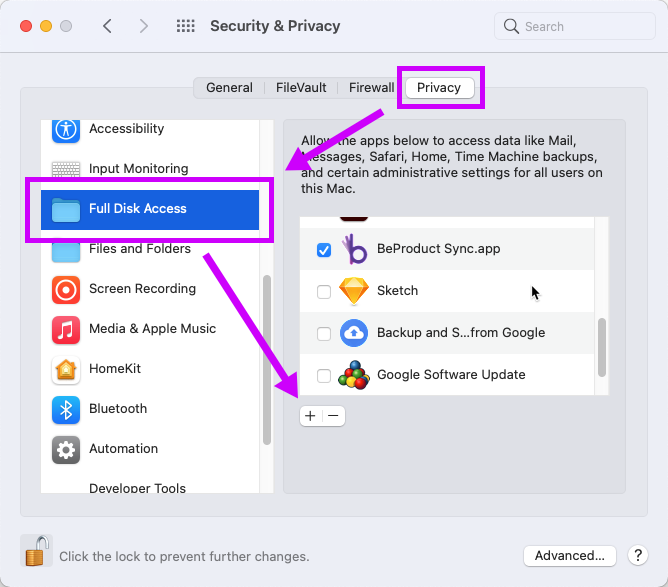
Next, open System Preferences and select Security & Privacy. Click on the Privacy tab and in the left frame scroll down to Full Disk access and click on it. Click on the padlock in the bottom left corner of the window and enter your system password to unlock settings. Next, click on the + icon and in the window that appears select BeProduct Sync to add it to the Full Disk Access area. Close System Preferences.
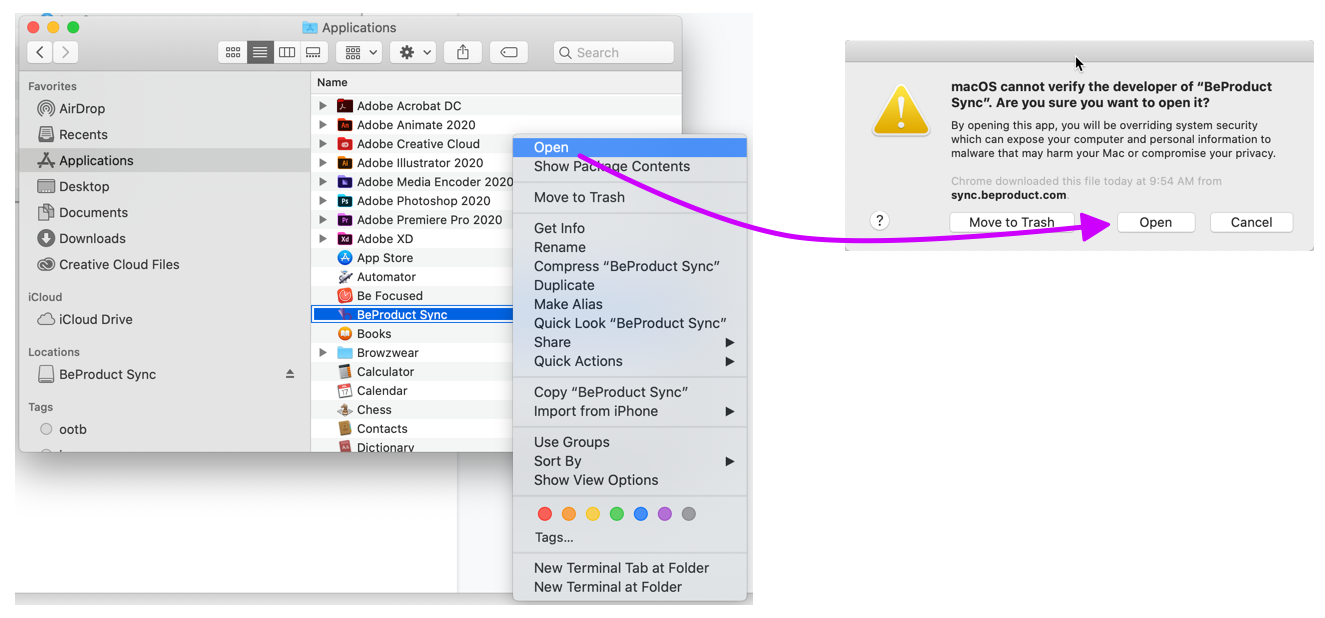
In your Applications folder, right-click or Ctrl+Click on the BeProduct Sync App, select Open and when prompted, select Open in the popup menu.

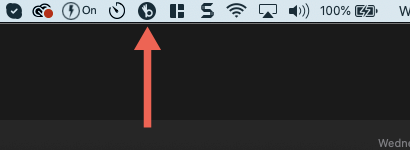
You’ll now see the BeProduct Sync App in the MacOS Menu Bar at the top of the screen. Click on the BP Sync icon. If you see a message that says “Failed to Start” in the BP Sync menu, please see the Troubleshooting section at the bottom of this article.
...
Now that you have BeProduct Sync installed and open, we can set it up. Log Into BeProduct and navigate to the Image folder’s search screen. (If you do not have access to the Image folder, you can also use the Material or Style search screens for this step.)
Select the Sync icon in BeProduct at the top of the screen.
In the dropdown in the Sync menu, select Sync2.0. (Note that if you receive an error, please see the next section below for troubleshooting tips.)
Once the menu refreshes, select the Login button.
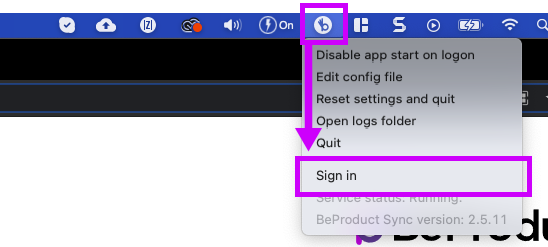
Click on the BeProduct Sync menu in your system’s menu bar and select Sign In from the menu.
BeProduct will open on a webpage. Follow prompts to log in and then close the tab in your browser once a message says to do so.
Return to the Image Folder search screen and Once you’ve logged in, if you open the BeProduct Sync menu.
Click the drive icon that says “Click here to open folder”
A Finder window should appear titled Image.
You’re all done! You can now drag or paste images into the finder window to upload into BeProduct. We hope you enjoy BeProduct Sync!, you should see your username listed and the Service Status should be set to Running.
That’s it! You’re ready to use Sync.

Troubleshooting
If you receive an error when attempting to sign into sync, please check the following.
Click on the BP Sync icon in your system’s menubar at the top of your screen:.
If you see a “Failed to Start” message, select the “Edit Config” option.
A file will open. Once it opens, simply close it.
Restart BP Sync by clicking on the BP Sync icon and selecting Quit.
Reopen BeProduct Sync.
...
| Filter by label (Content by label) | |||||||||||||||||||||
|---|---|---|---|---|---|---|---|---|---|---|---|---|---|---|---|---|---|---|---|---|---|
|
| Page Properties | ||
|---|---|---|
| ||
|